3D surface topography measurements

Easy to integrate surface topography measurement

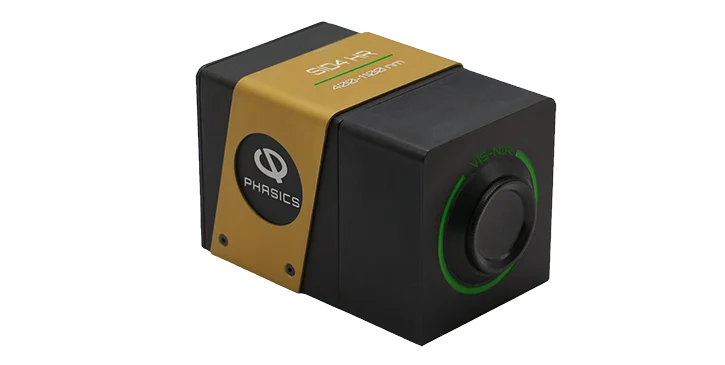
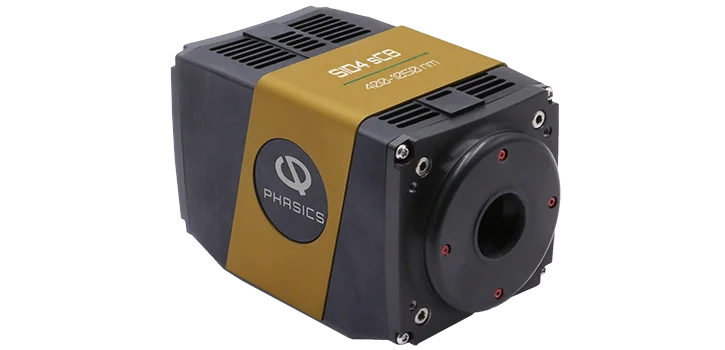
Measuring surface properties is a way to control and adjust manufacturing methods in order to improve the sample overall performance. For this type of application, Phasics SID4 quantitative phase imaging cameras are integrated on commercial or homemade optical microscope setups. Phasics' expert software outputs in real time the optical path difference (OPD) map that can be directly transposed into surface topography. The Phasics solution for surface measurement stands out for its compactness and ease of integration. Indeed, SID4 wavefront sensors are as compact and as simple to integrate as a classical scientific camera. The integration can be performed directly on a production line or in a metrology laboratory.

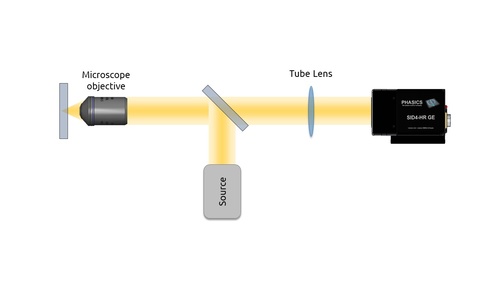
  • ▽ Measurement setup for surface qualification

    Measurement setup for surface qualification with QWSLI

    The surface under test is imaged onto the SID4 quantitative phase imaging camera. The SID4 can be directly integrated on a commercial reflective microscope or on a dedicated in-line optical system. As the Phasics SID4 relies on QWLSI, an achromatic wavefront measurement technology, white light and LED sources are well-suited. Moreover, the measurement can be performed with any microscope objectives and is not polarization dependent.

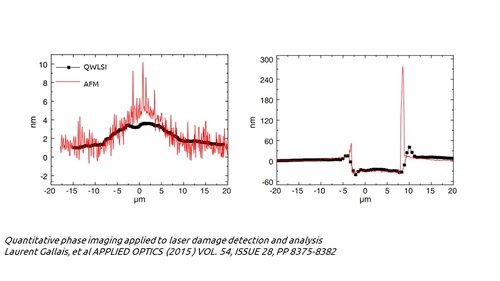
  • ▽ SID4 - AFM measurement comparison

    SID4 - AFM surface measurement comparison

    Comparison of surface defects measured with scanning AFM and single-shot measurement with SID4 quantitative phase imaging camera.

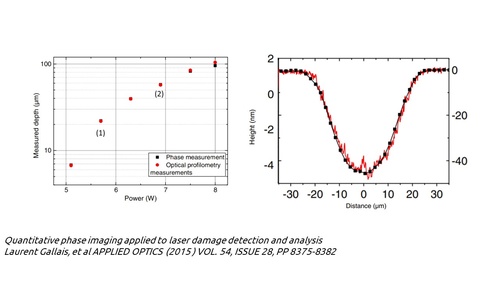
  • ▽ SID4 - Optical profiler measurement comparison

    SID4 - Optical profiler surface measurement comparison

    Comparison of depth measurements obtained with the SID4 HR quantitative phase imaging camera and a white light optical surface profiler. Two profiles are reported, the first one with an emphasis on the rims and the other one on the depth measurement.                                               


Measurement Outputs

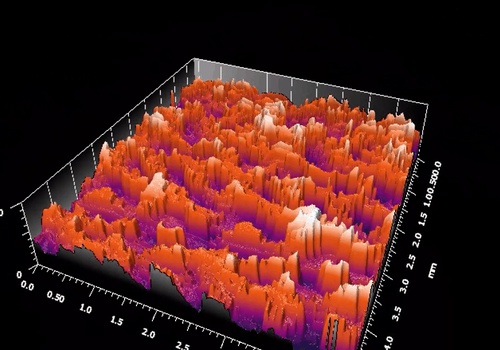
Surface map of a Micro-structured reflective surface measured with QWSLI (SID4 wavefront sensor)

Surface topography

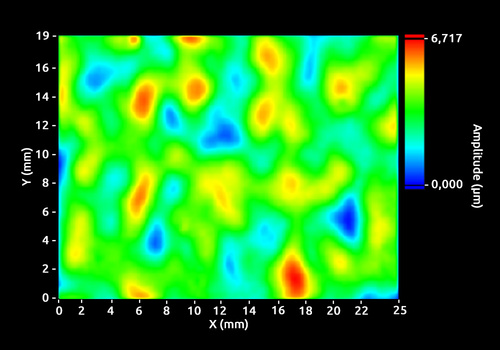
Waviness map of a metallic reflective surface measured with QWSLI (SID4-HR wavefront sensor)

Waviness

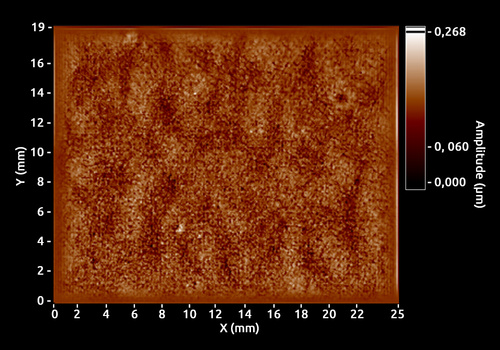
Roughness map of a metallic reflective surface measured with QWSLI (SID4-HR wavefront sensor)

Roughness

Advantages

Easy to integrate

  • Plug and play camera
  • Compact
  • Not sensitive to vibration

Broad compatibilities

  • Any microscope
  • Any illumination (LED, white light, laser)
  • Any objective

Powerful capabilities

  • Phase resolution of 1nm
  • Full-field single-shot measurement
  • Artefact-free 
 

Downloads

下载


Related Products

订阅Phasics资讯获取最新信息